
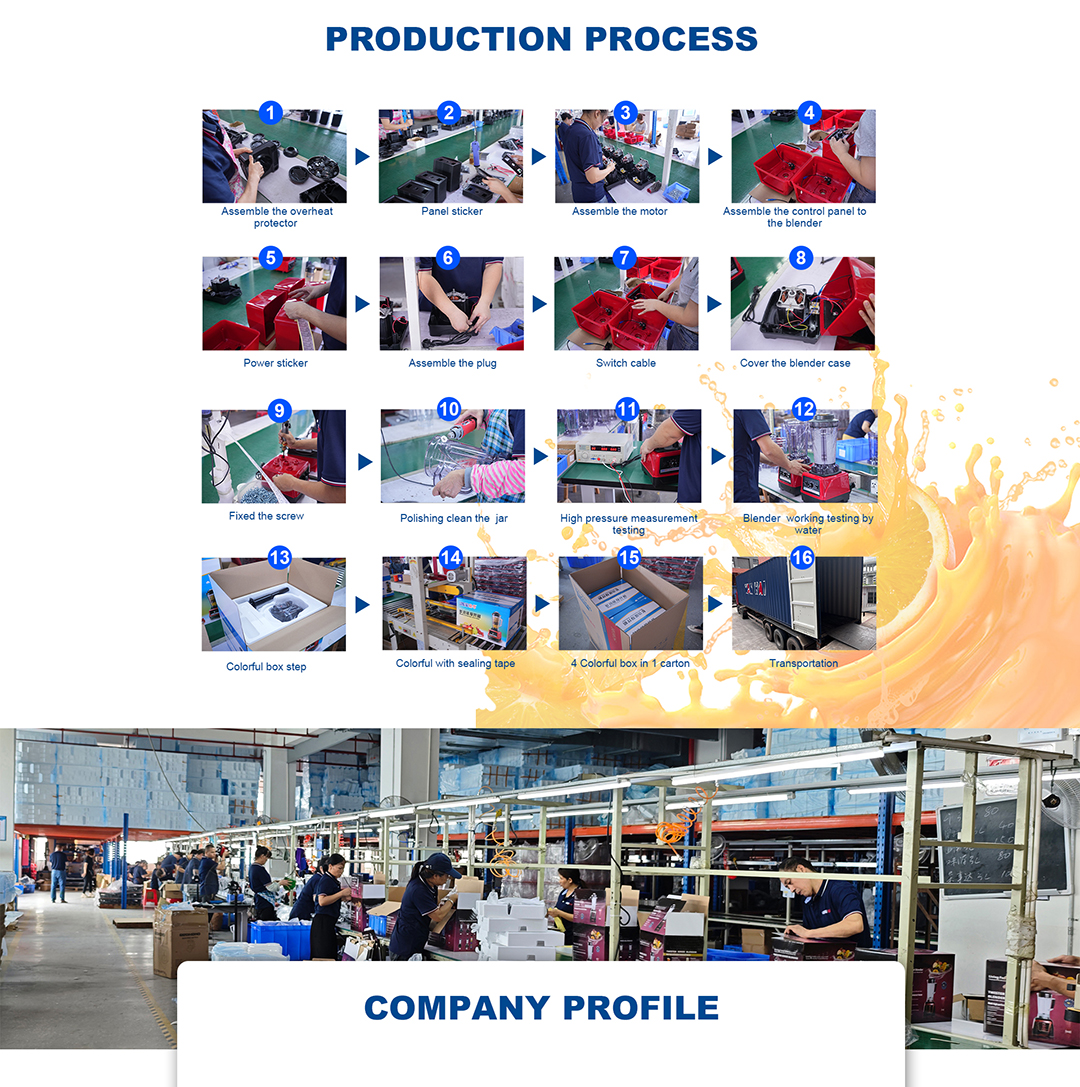
At our manufacturing facility, every commercial blender undergoes a rigorous 16-step assembly and quality control process. This systematic approach ensures each unit delivers the durability, safety, and performance required for demanding commercial kitchens.
Phase 1: Core Assembly & Electrical Safety
Our process begins with the meticulous assembly of core components:
Assemble the Overheat Protector: Integrated as the unit's primary safety system to prevent motor damage.
Apply Panel Sticker: Clear, durable labels for intuitive user interface.
Assemble the Motor: Installation of high-torque, commercially-rated motor.
Assemble Control Panel: Precision mounting and connection of all electronic controls.
Apply Power Sticker: Clear electrical specification labeling.
Assemble the Plug: Attachment of heavy-duty, compliant power plug.
Connect Switch Cable: Secure wiring of all control functions.
Phase 2: Structural Integrity & Final Assembly
8. Cover the Blender Case: Enclosure of internal components.
9. Secure All Screws: Comprehensive fastening using calibrated tools.
10. Polish and Clean the Jar: Final preparation of blending containers.
Phase 3: Rigorous Quality Verification
11. High-Pressure Measurement Testing: Verification of all electrical insulation.
12. Water-Based Operational Testing: Full functional test under load conditions.
Phase 4: Professional Packaging
13. Colorful Box Assembly: Preparation of retail packaging.
14. Seal with Packaging Tape: Secure closure for protection.
15. Carton Packaging: Unit placement in shipping carton.
16. Transportation Preparation: Final preparation for secure shipping.
This uncompromising process reflects our commitment to manufacturing blenders that withstand continuous commercial use while maintaining consistent blending performance.
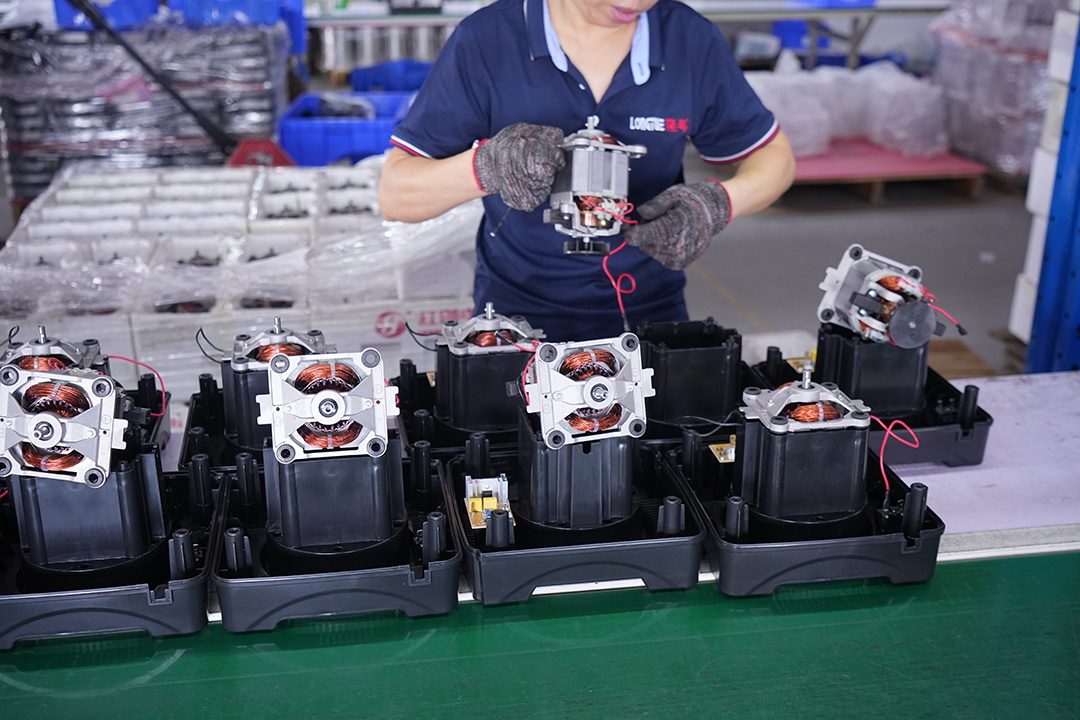
Assemble the motor
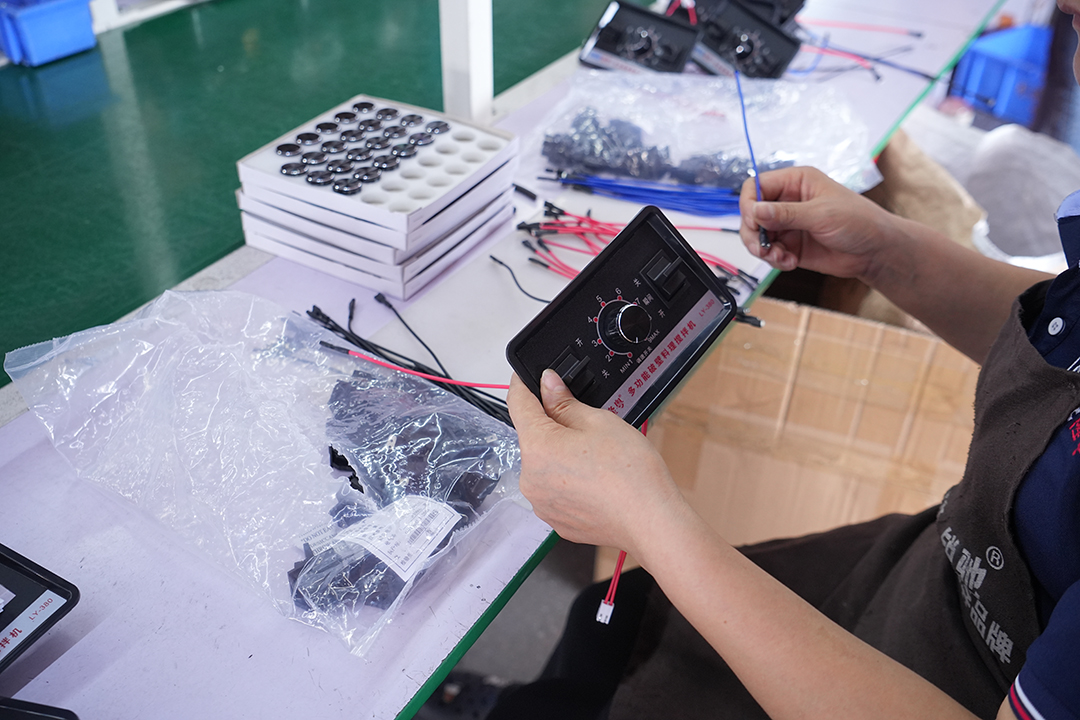
Assemble swtich cable
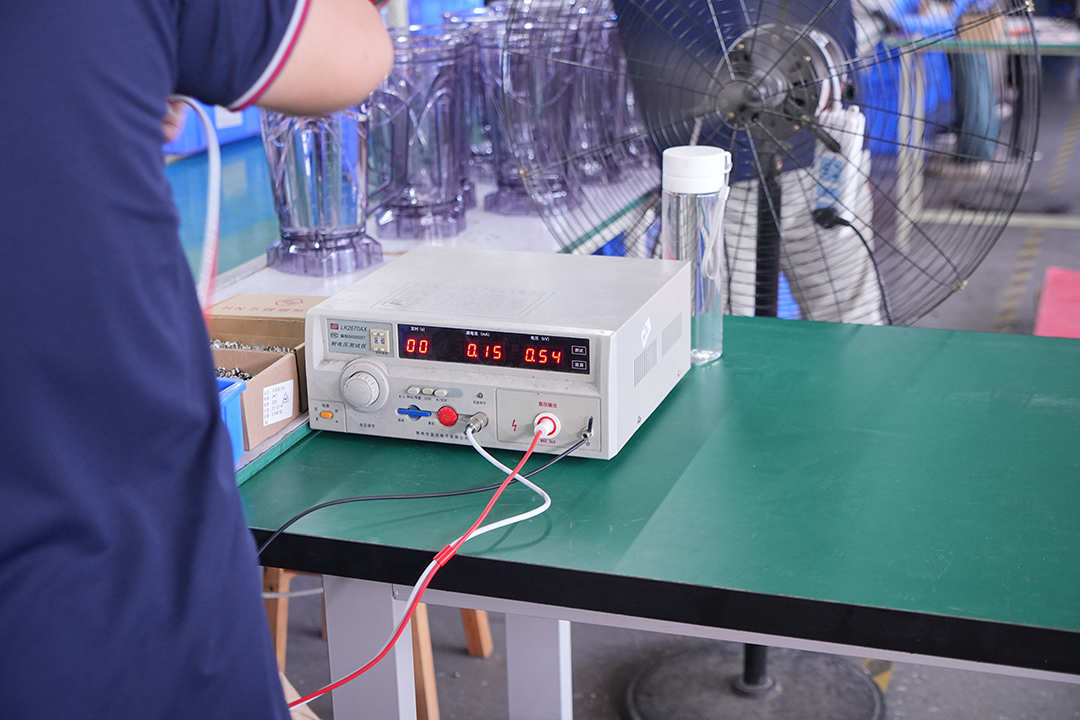
High pressure measurement testing data
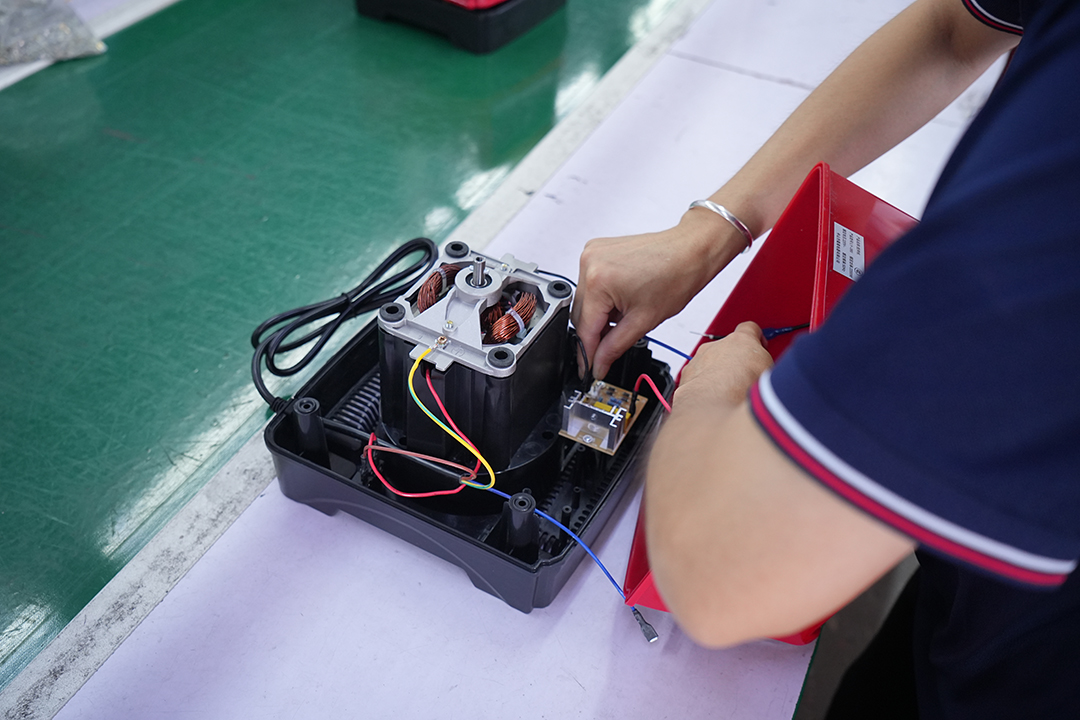
Connect the mainboard cable
